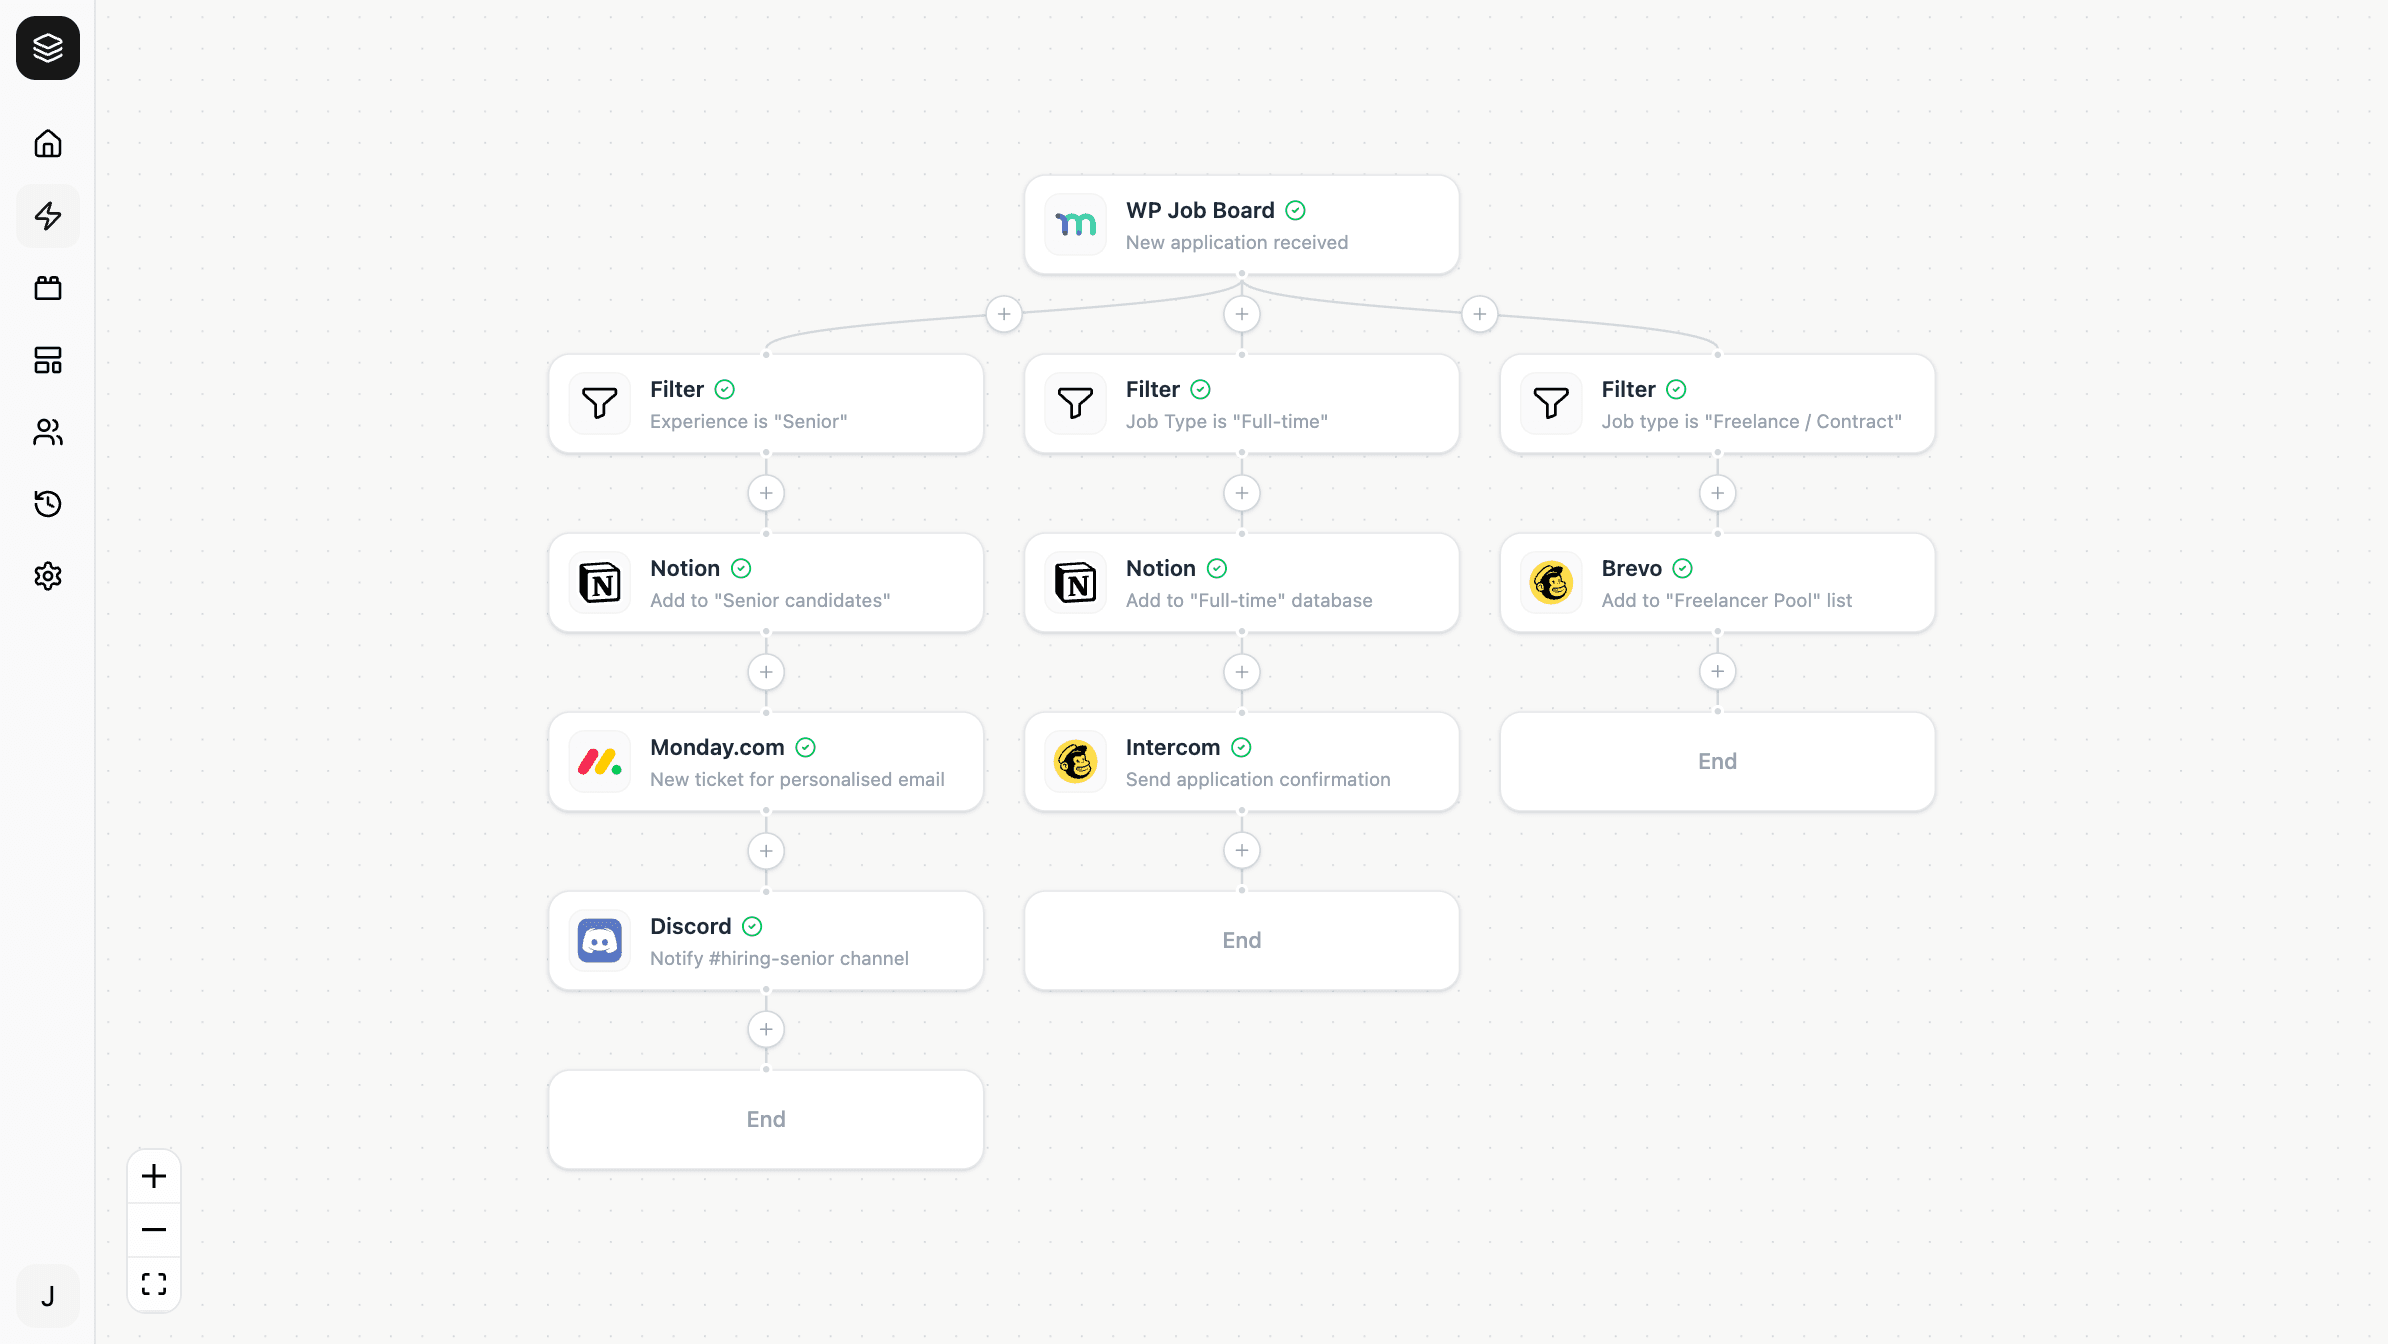
Build your first automation
Connect a tool, choose a trigger, add an action, and activate. Your first Nodest automation takes about five minutes.
Building an automation takes four steps: connect the tools it needs, choose the event that starts it, add the actions that follow, and turn it on. No code, no configuration files, no deployment.
Everything here works on the free plan — unlimited automations and 100 actions per month, no credit card.
Before you start
Decide what the workflow should do, in one sentence, in the form "when X happens, do Y." For example: when a WooCommerce order is placed, add the customer to my Brevo list.
That sentence maps directly onto what you're about to build — the "when" becomes your trigger, the "do" becomes your action.
1. Connect your tools
Open your workspace and add a connection for each tool the automation touches. Depending on the tool you'll either click through an authorisation screen or paste an API key.
Connections are per workspace, so you only do this once per tool. Every automation in that workspace can then use it.
If your workflow starts on your WordPress site, set that up first — it needs the Nodest plugin installed. See Connecting your WordPress site.
2. Choose a trigger
Create a new automation and pick its trigger — one specific event in one connected tool, like Order placed in WooCommerce or Form submitted in Gravity Forms.
Then fetch sample data. Nodest pulls a real record from your connected tool so you can see the actual field names the trigger produces. Do this before building anything else: the next step lets you map those fields, and without a sample you'd be guessing at names.
3. Add an action
Add the step that does the work — creating a record, sending a message, updating a contact.
Each field on the action takes its value one of two ways:
- Fixed — you type it once and it's the same every run. Use this for the list you always add to, or a status you always set.
- Mapped — you pick a value from the trigger, and it changes every run. Use this for the customer's email, the order total, the form answer.
Most actions mix both: a fixed destination, mapped content.
4. Activate
Turn the automation on. From that moment it runs in the background for every matching event.
Trigger it once for real — place a test order, submit the form — and check that the result appears where you expect.
How do I know it worked?
Open the automation and look at its run history. Every run records which steps executed and what data passed through each one, so you can confirm the right values arrived rather than just trusting that something happened.
If a step fails, the run stops there and is marked failed, and Nodest notifies you. Nothing downstream executes against incomplete data.
Where to go next
Once the basic version works, these are the usual next moves:
- Only run in certain cases — add a filter, so the automation continues only when conditions are met
- Do different things depending on the data — add a branch
- Wait before acting — add a delay, in minutes, hours, or days
- Do more than one thing — just add more actions; they run in order