Installing the Nodest plugin
Install the plugin from the WordPress plugin directory, activate it, and connect it to a workspace.
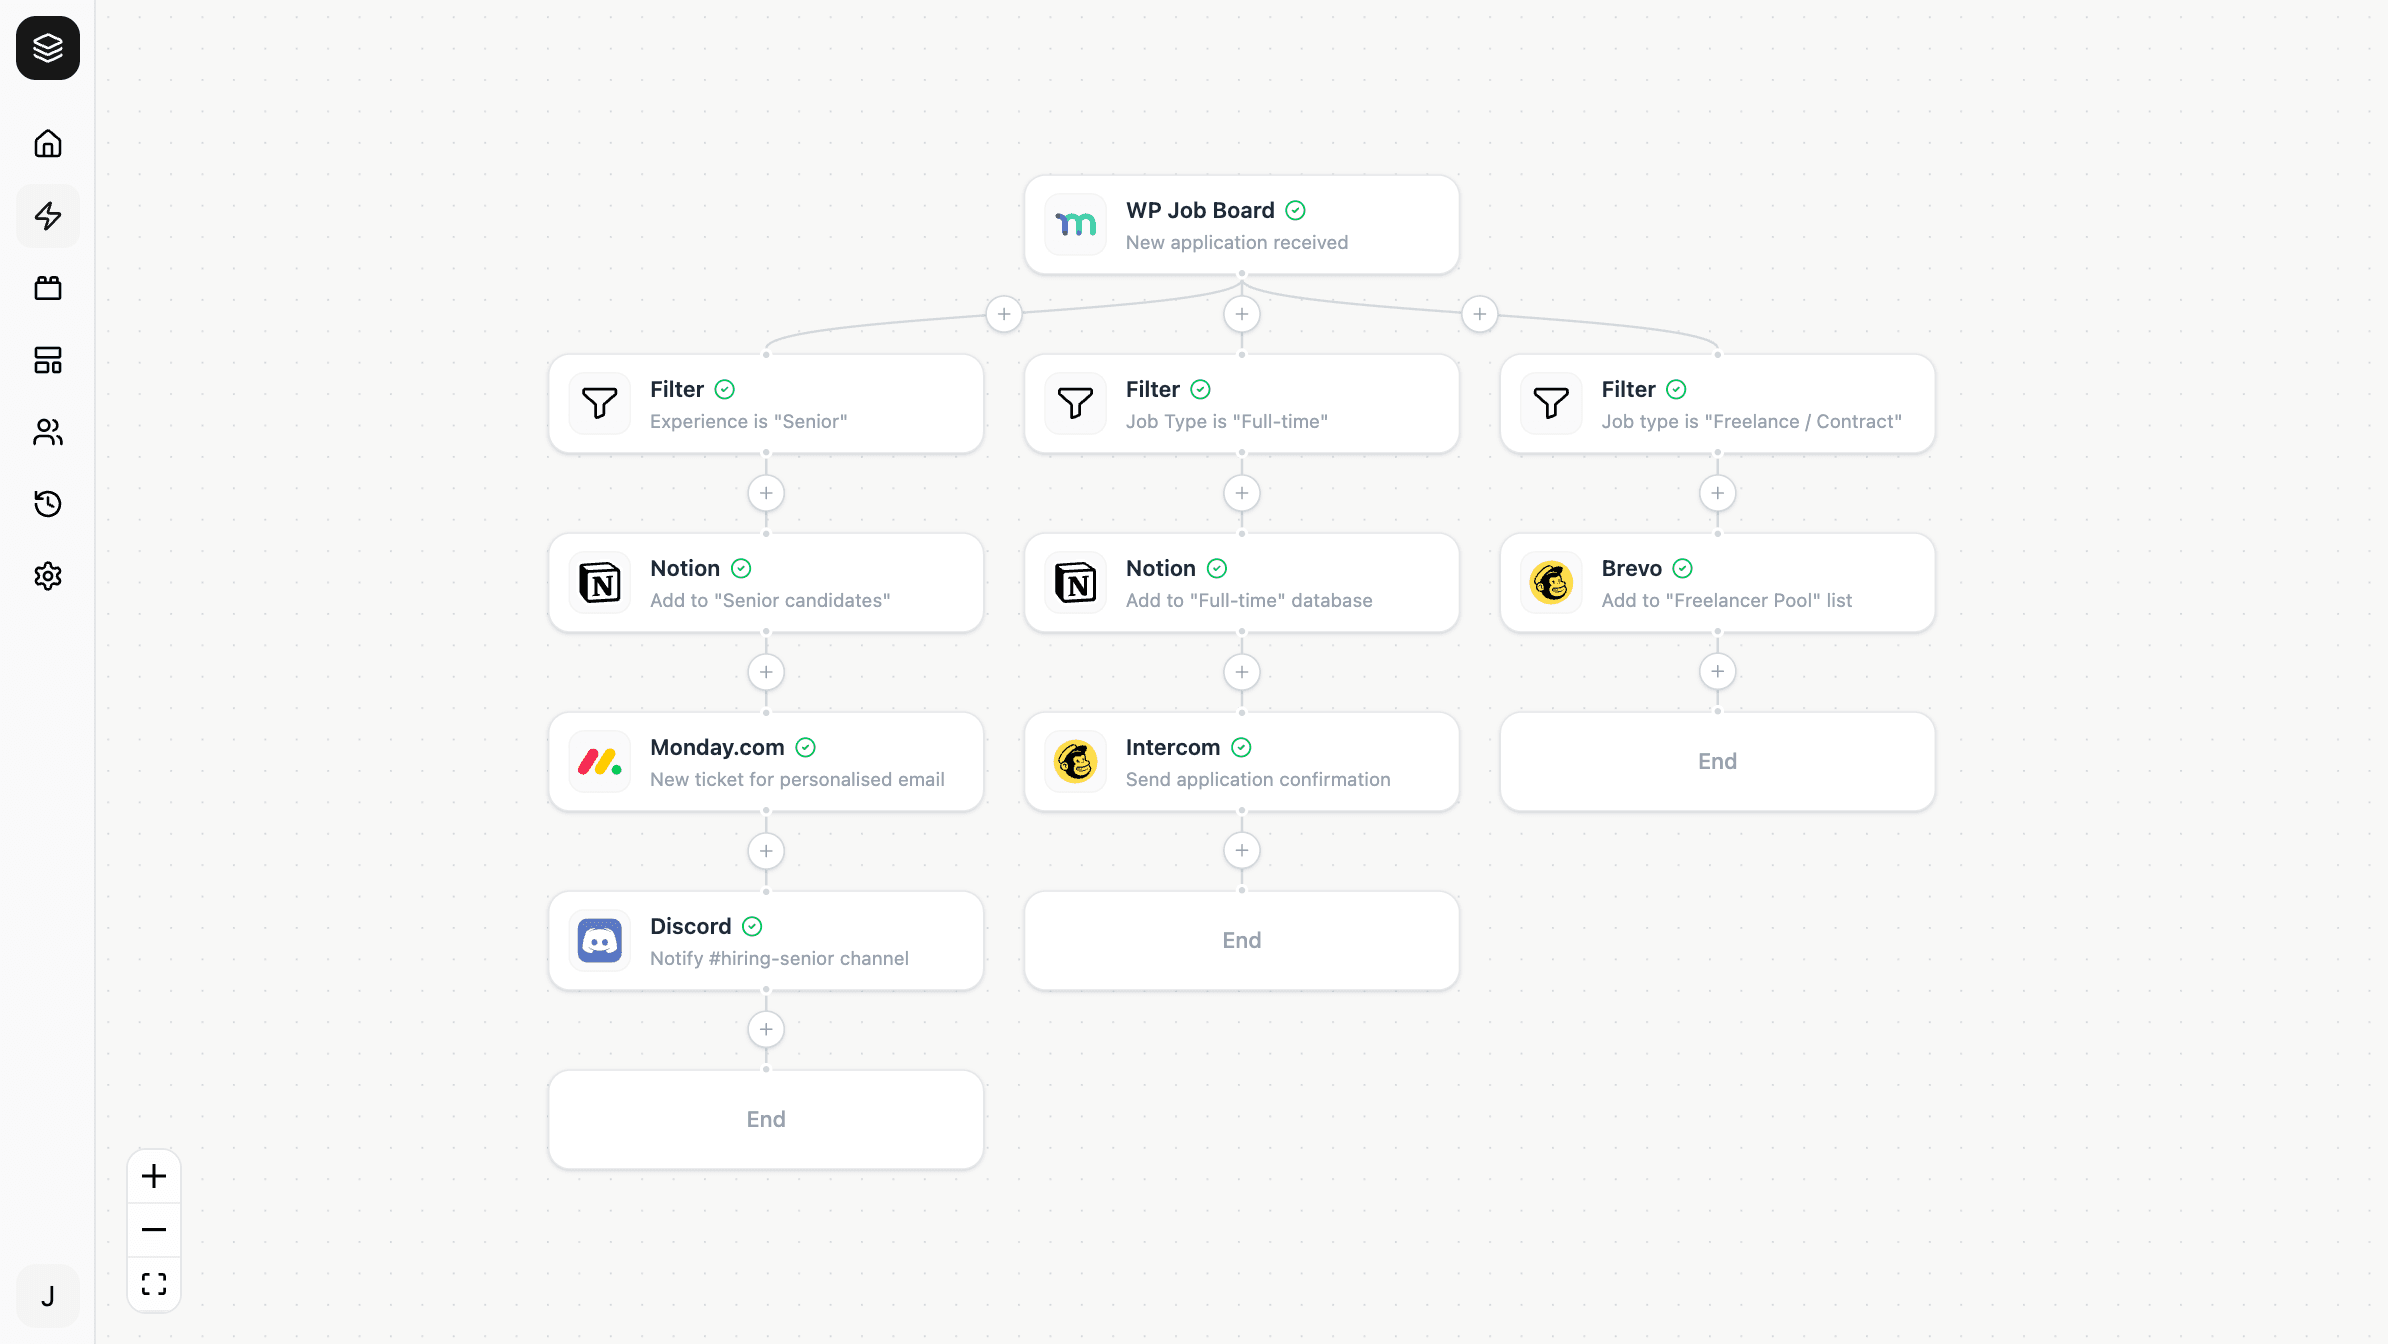
The Nodest plugin is what lets your WordPress site talk to Nodest. Install it like any other plugin, activate it, and connect it to a workspace — from that point your site's events are available to build automations with.
Why WordPress needs a plugin
WordPress has no built-in way to tell an outside service that something happened on your site. Nothing in core lets "a WooCommerce order was placed" reach an external platform.
The plugin closes that gap. It listens for events on your site and sends them to Nodest as they happen, which is why WordPress automations run in real time rather than on a schedule.
1. Install the plugin
In your WordPress admin:
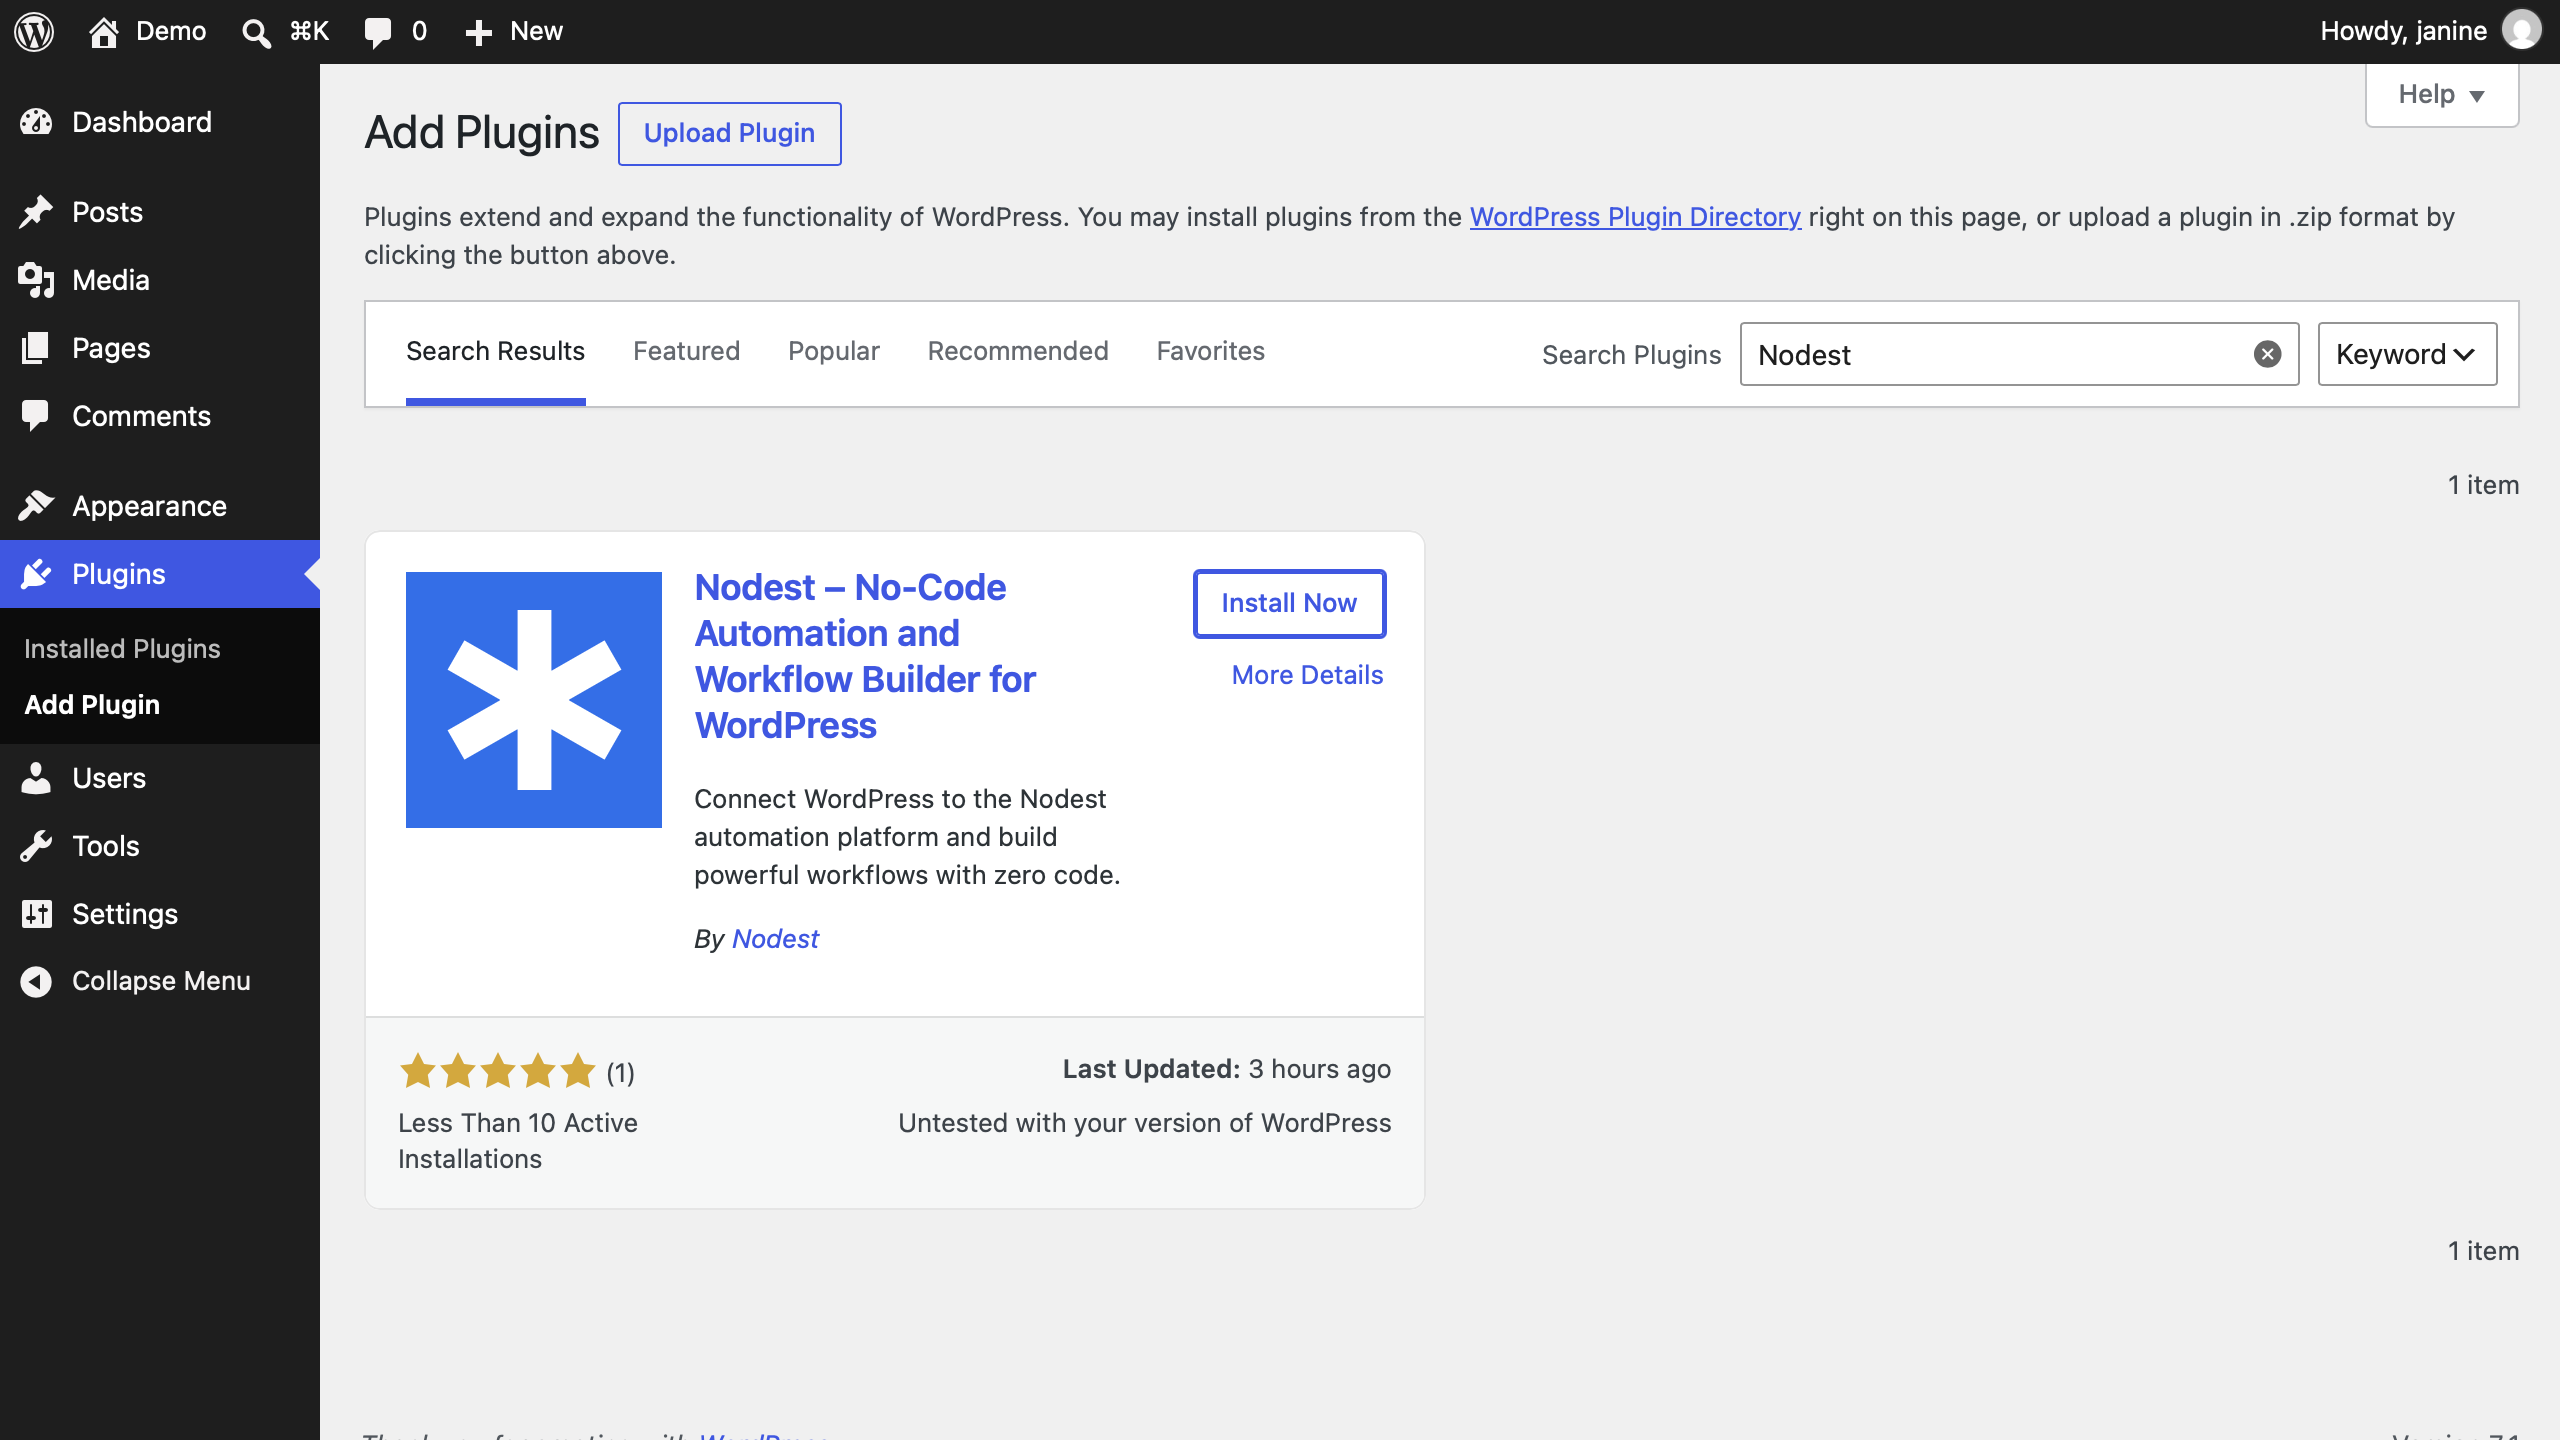
- Go to Plugins → Add New
- Search for Nodest
- Click Install Now
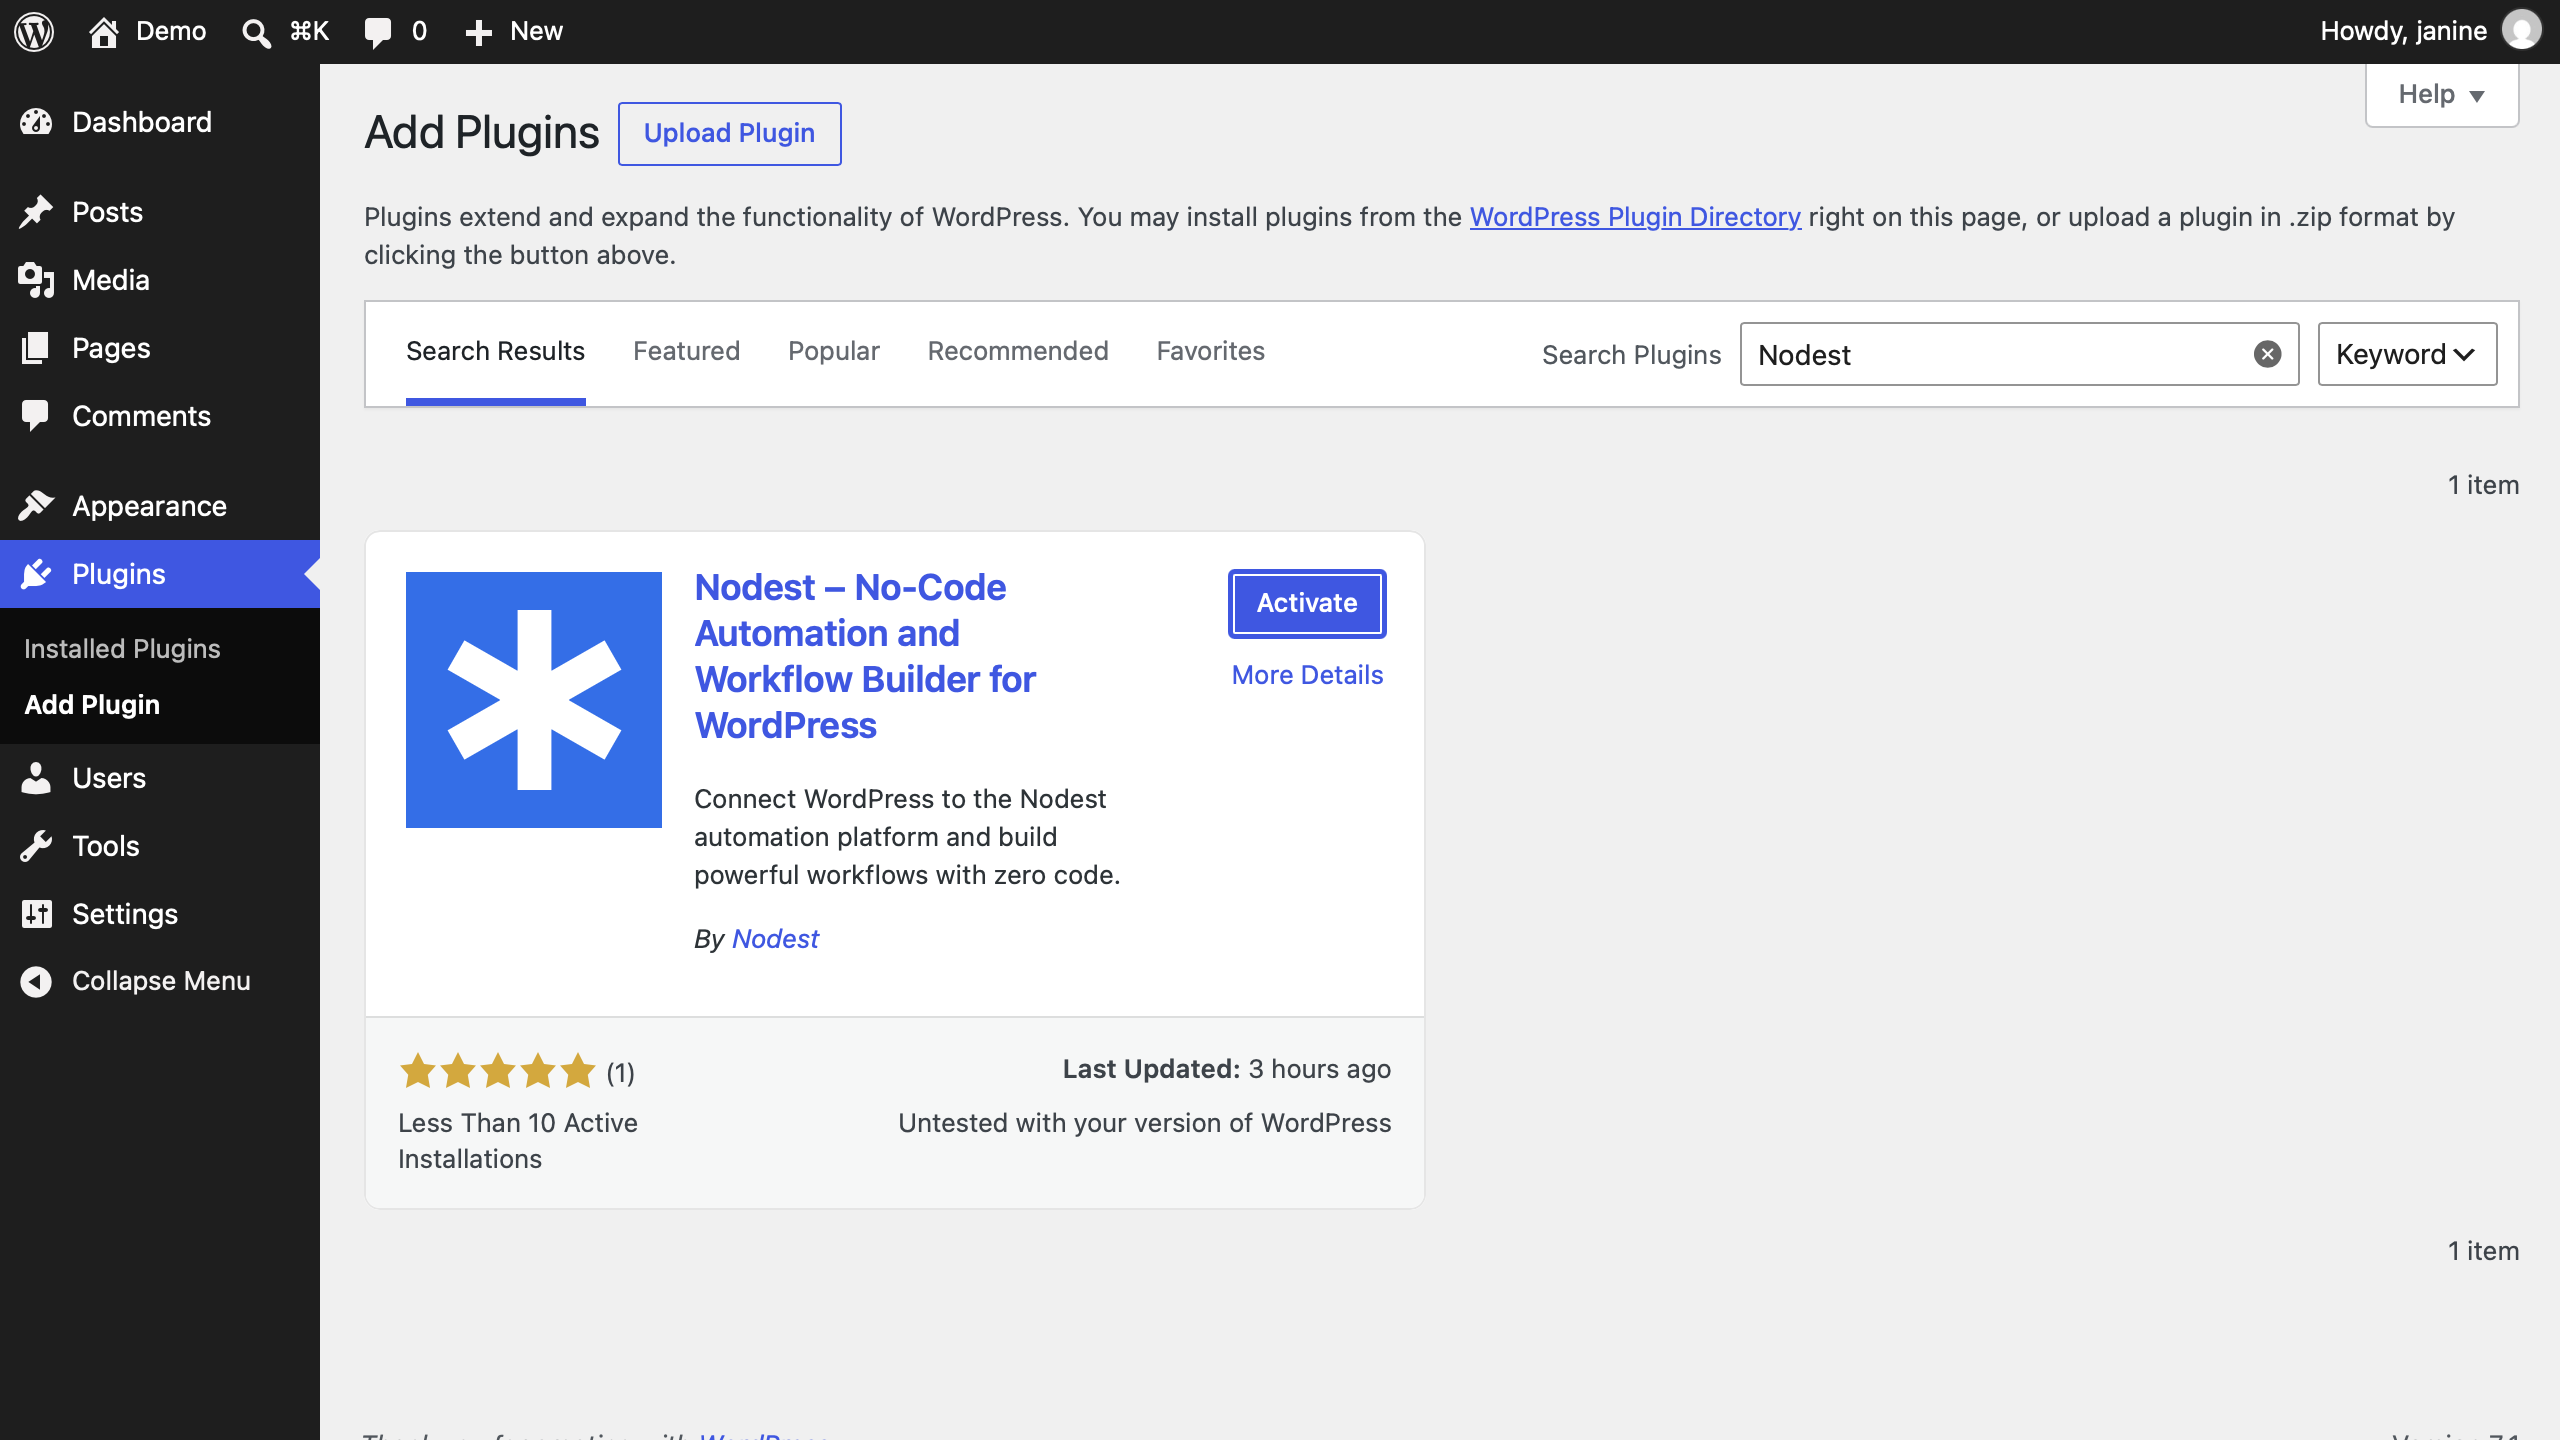
2. Activate it
Click Activate. The plugin adds a Nodest entry to your WordPress admin.
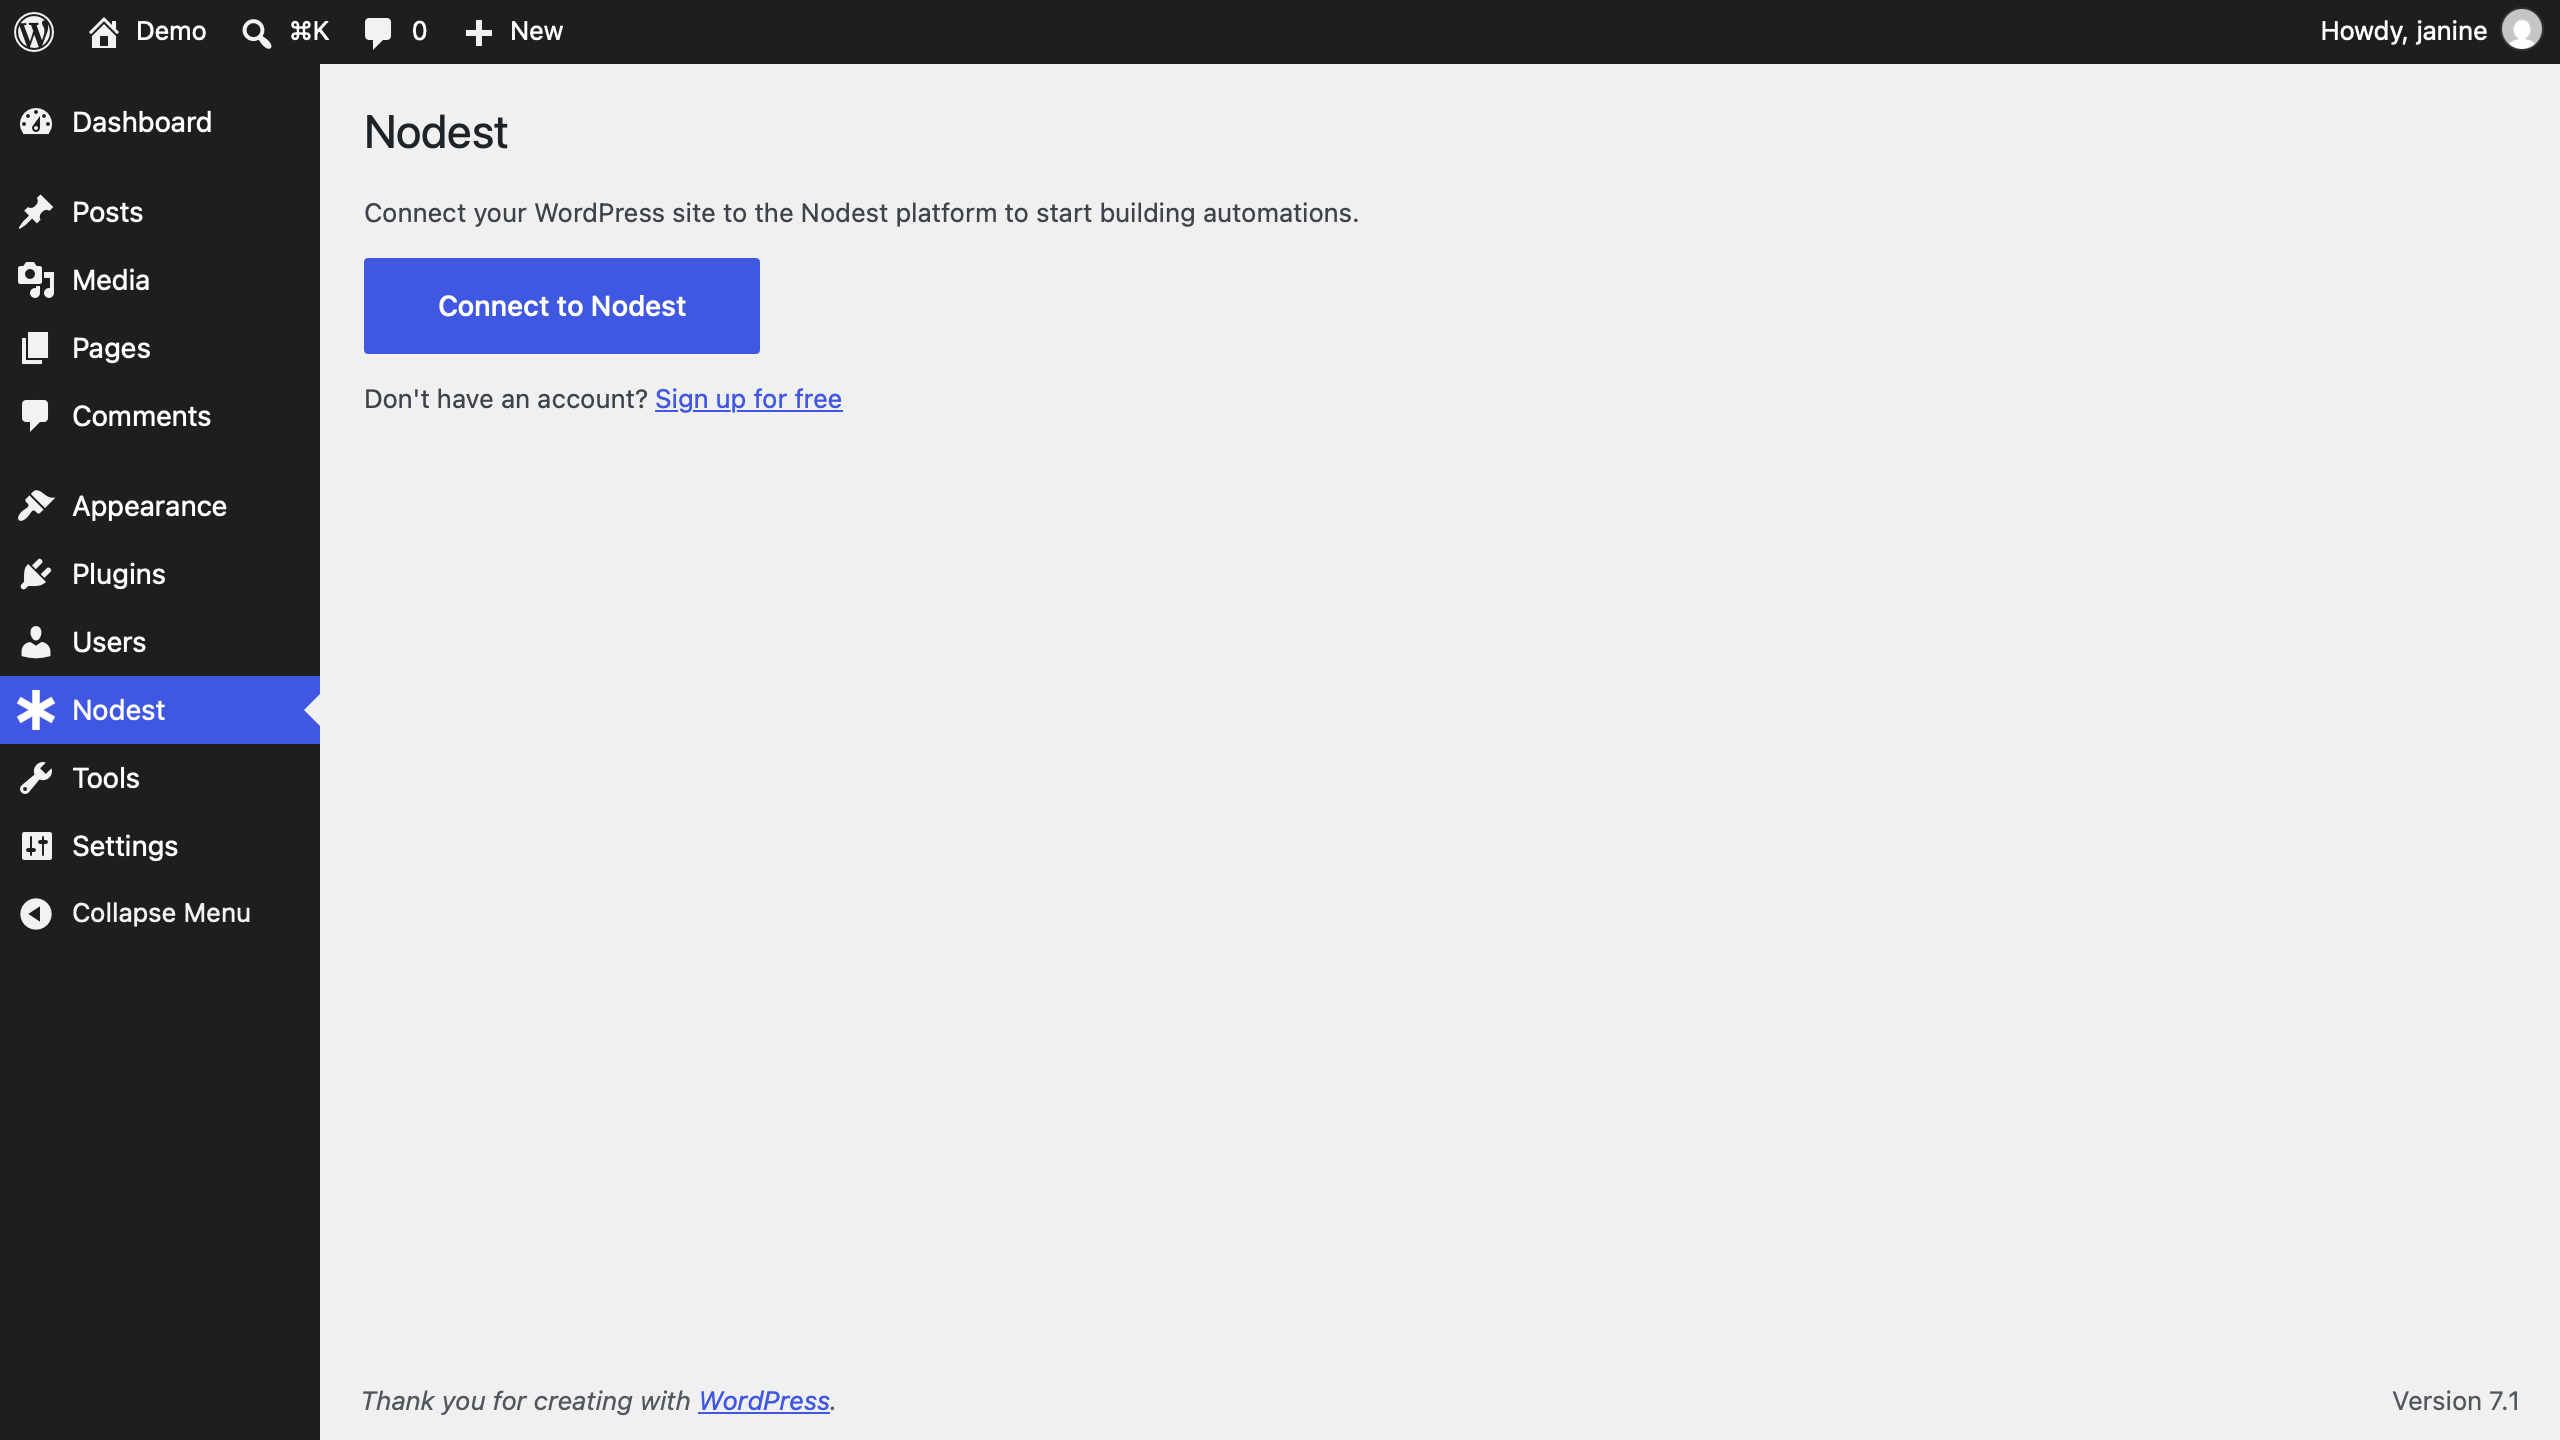
3. Connect it to a workspace
Open the plugin in your WordPress admin and connect it to your Nodest workspace.
Connecting from Nodest instead
If you add a WordPress connection inside Nodest and the plugin isn't on the site yet, Nodest installs and activates it for you as part of creating that connection.
For this to work the account you connect with needs permission to install plugins, and your host has to allow plugin installation from within WordPress — some managed hosts disable it. If either isn't true, install the plugin manually using the steps above and then create the connection.